
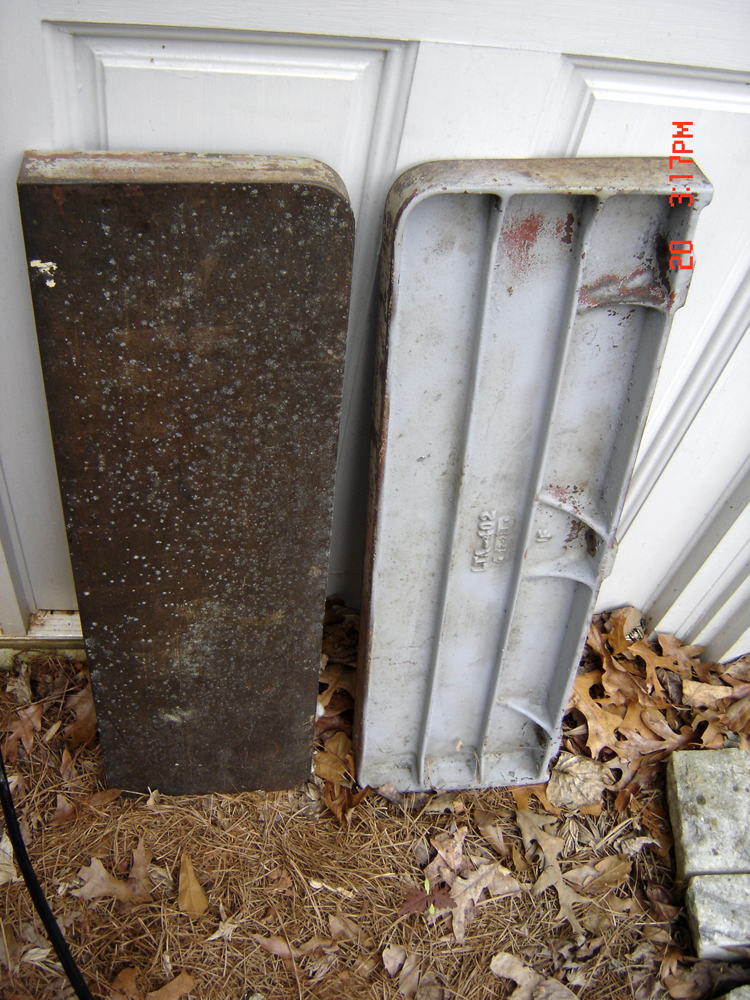
You cant see it in the photos but if you look at my first couple of Unisaw posts youll see that theres a big chip missing from one edge. Initially I was going to abandon the use of that wing by using an extension table for a 52" fence. Ive since decided to go with a shorter fence as the width of the previous would make it too cumbersome to walk around in my tiny wood shop.
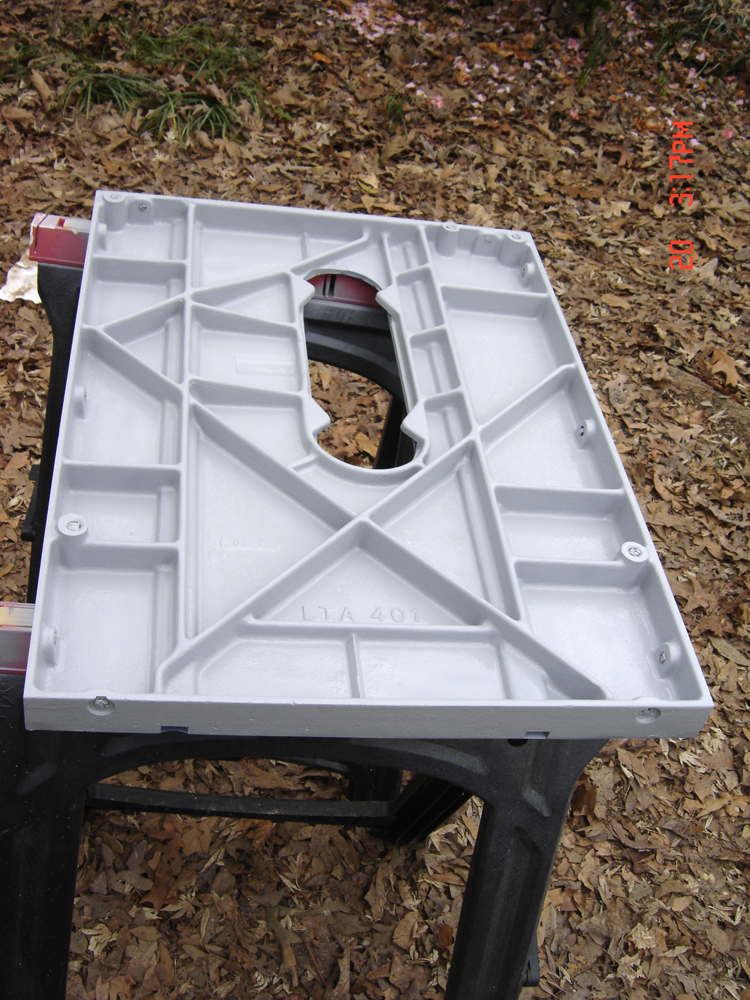
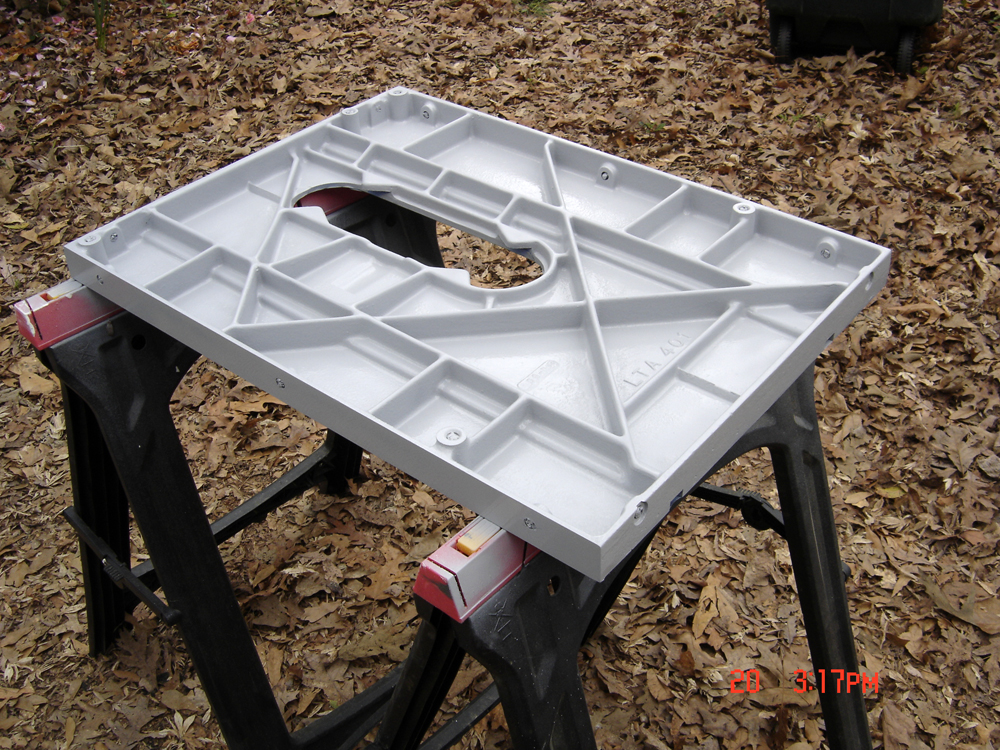
I cleaned all surfaces as best as I could using a twisted-wire cup brush mounted in an angle grinder. I then media blasted using Black Diamond abrasive purchased from Northern Tool (great stuff and only a little more expensive than sand, and the threat of silicosis is minimized). Heres the table after blasting and shown with a coat of primer. Done with this for the day (trying to prune up the yard to get ready for the Friday yard trash pickup).
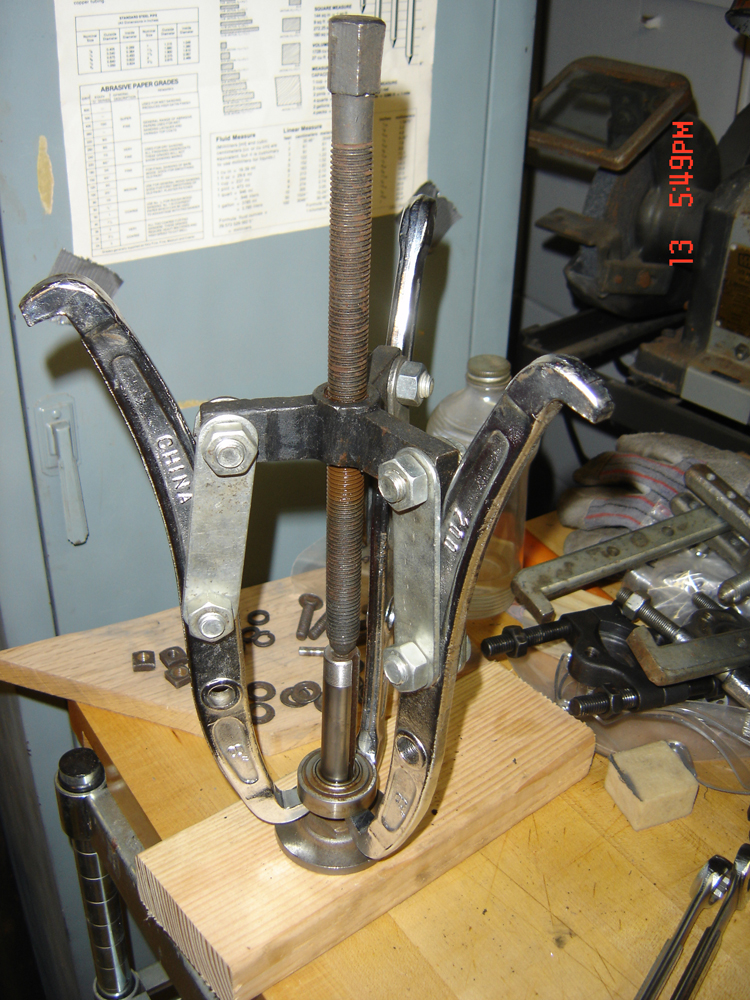
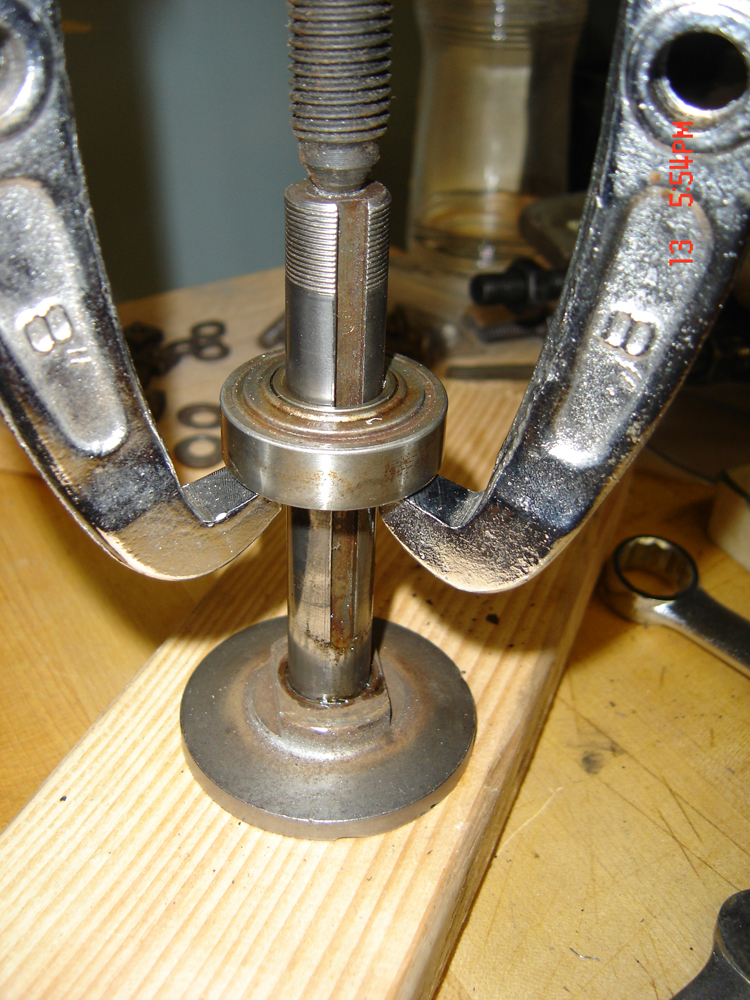
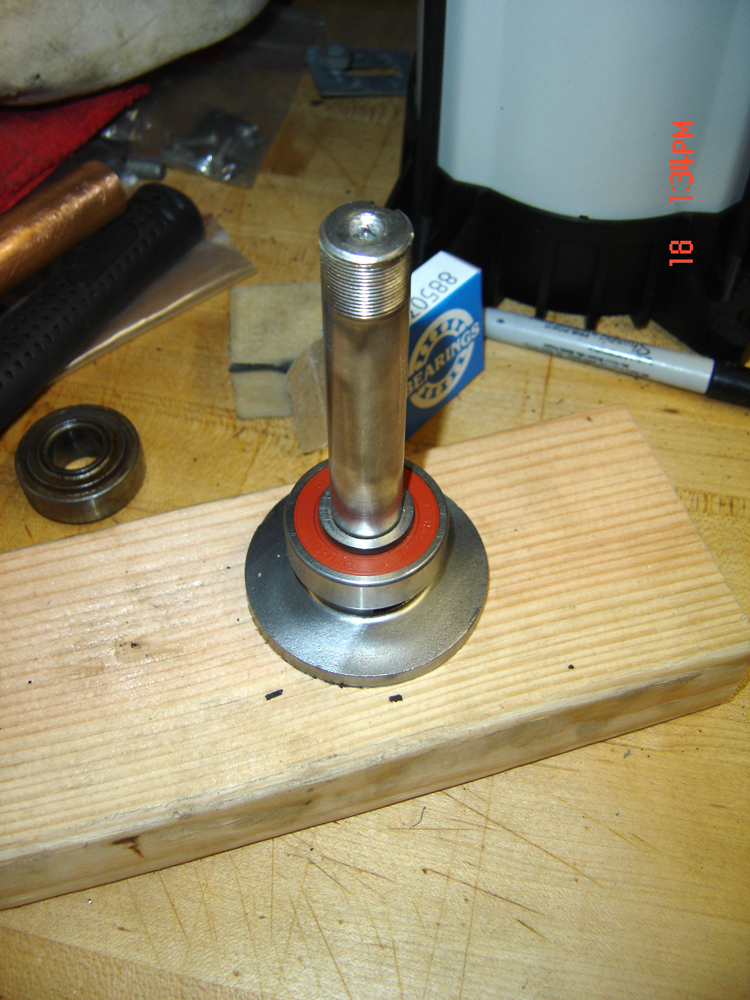
I had already started the arbor dissembly using my bearing puller:
I finished cleaning up the rest of the gunk on my grinder equipped with a brass wire wheel:
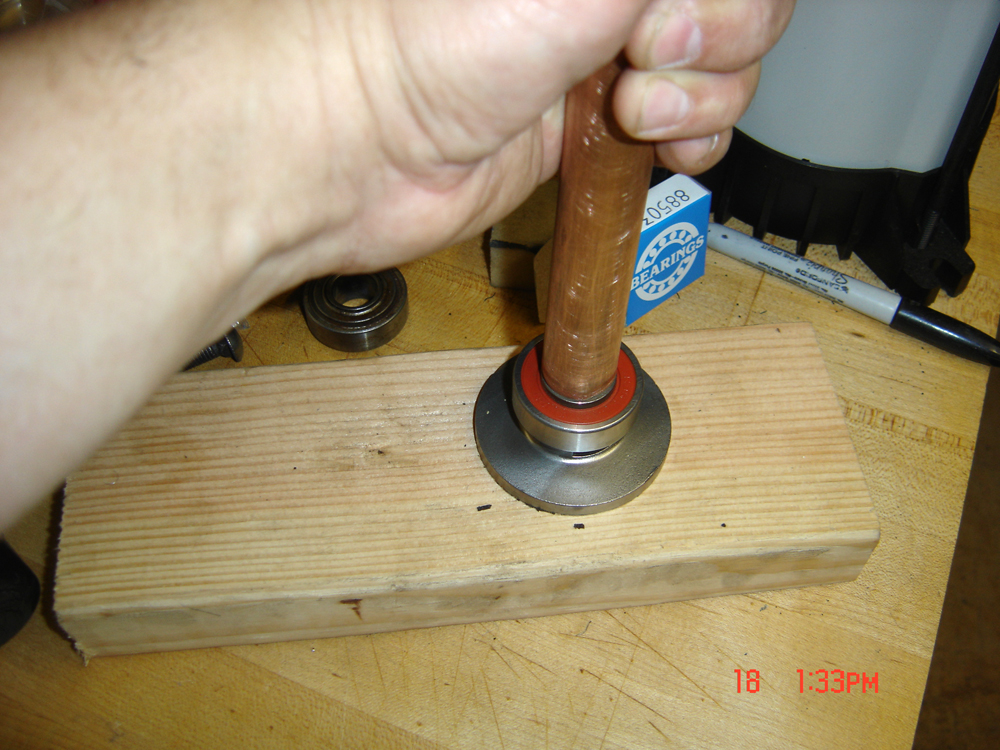
And a few days later pressed on the new extended-race bearing purchased from Accurate:
I had already pressed on the other bearing into the arbor bracket using my thumbs:
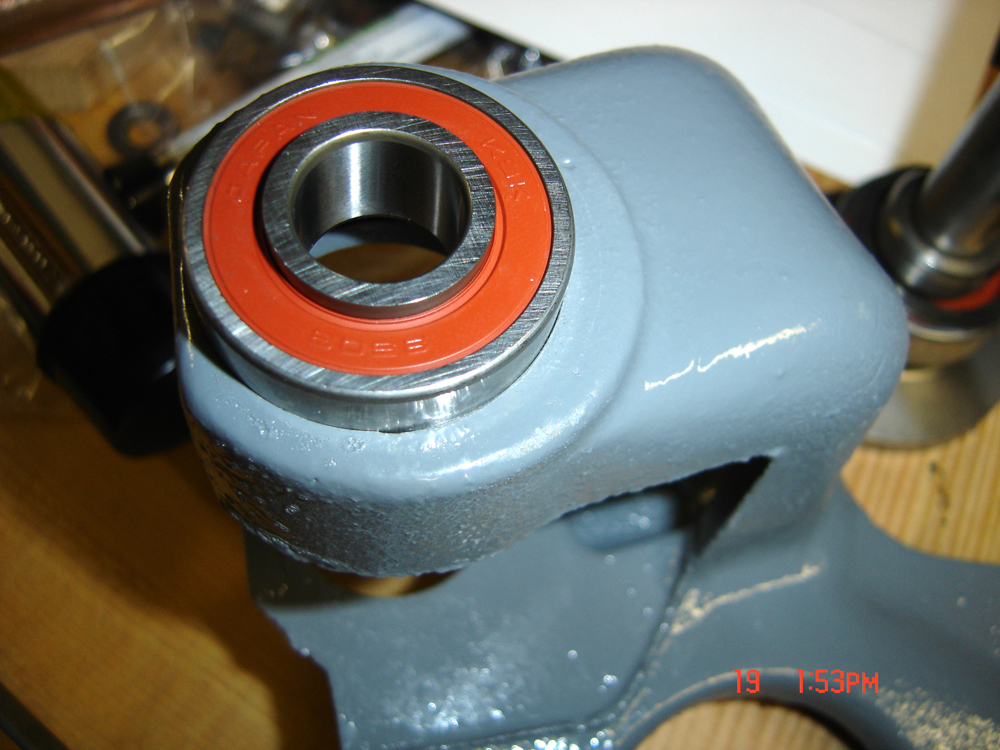
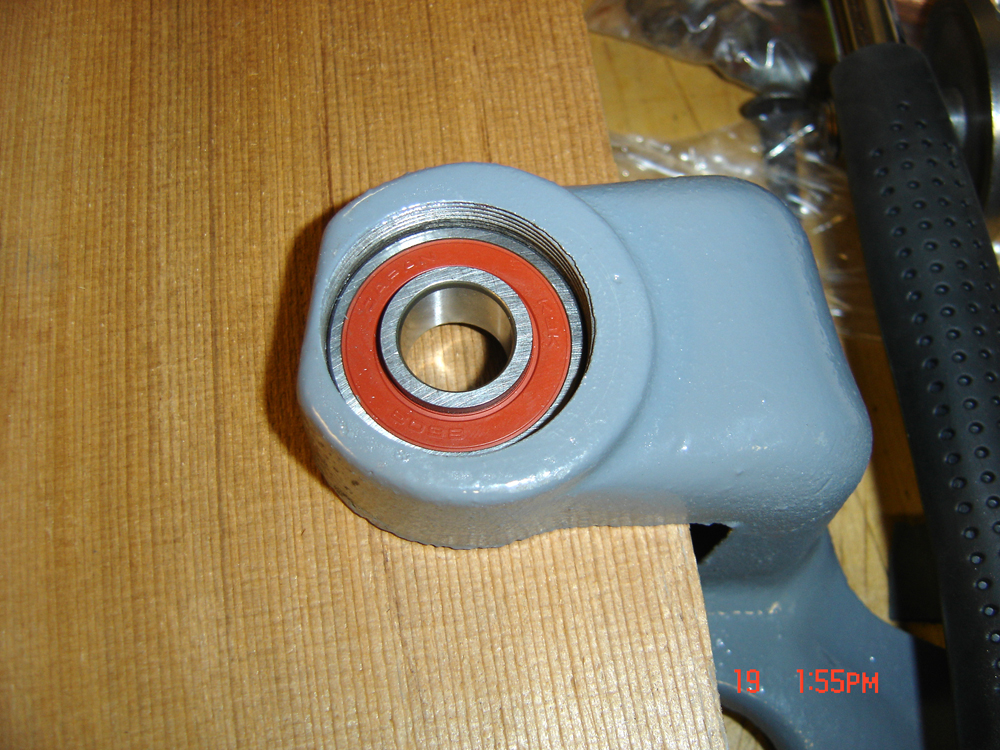
And then supported the hollow area between the two ears using a twobafore and a couple of cedar shakes (the taper let me sneak up on a tight fit), tapping in the bearing with a soft-faced hammer until flush:

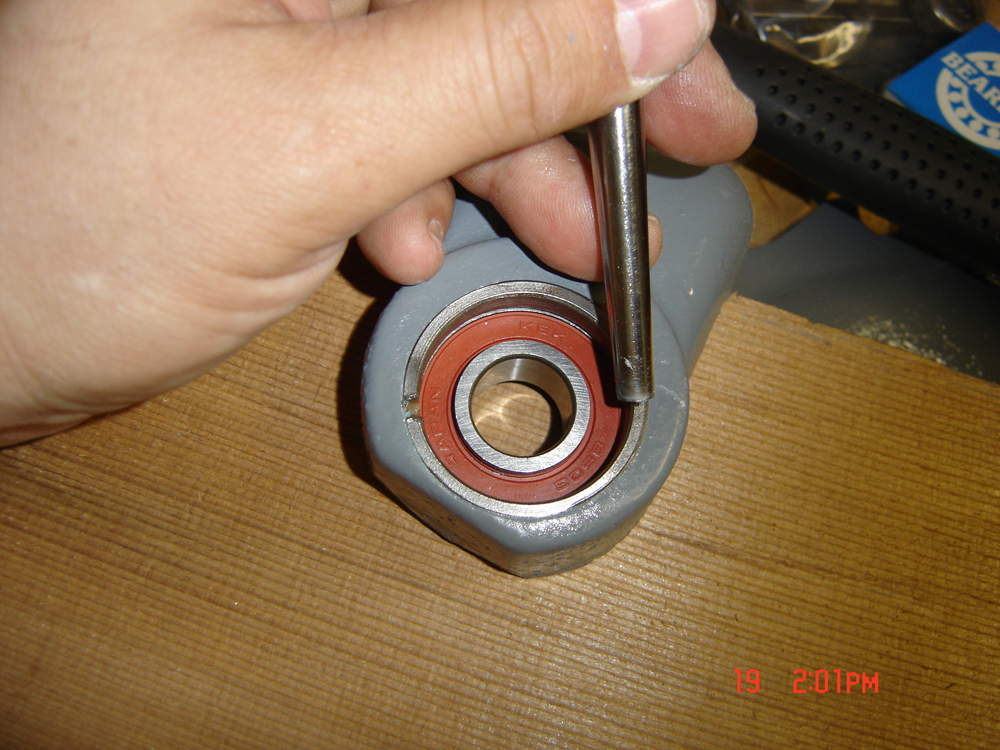
And that a punch be used instead of a screwdriver:
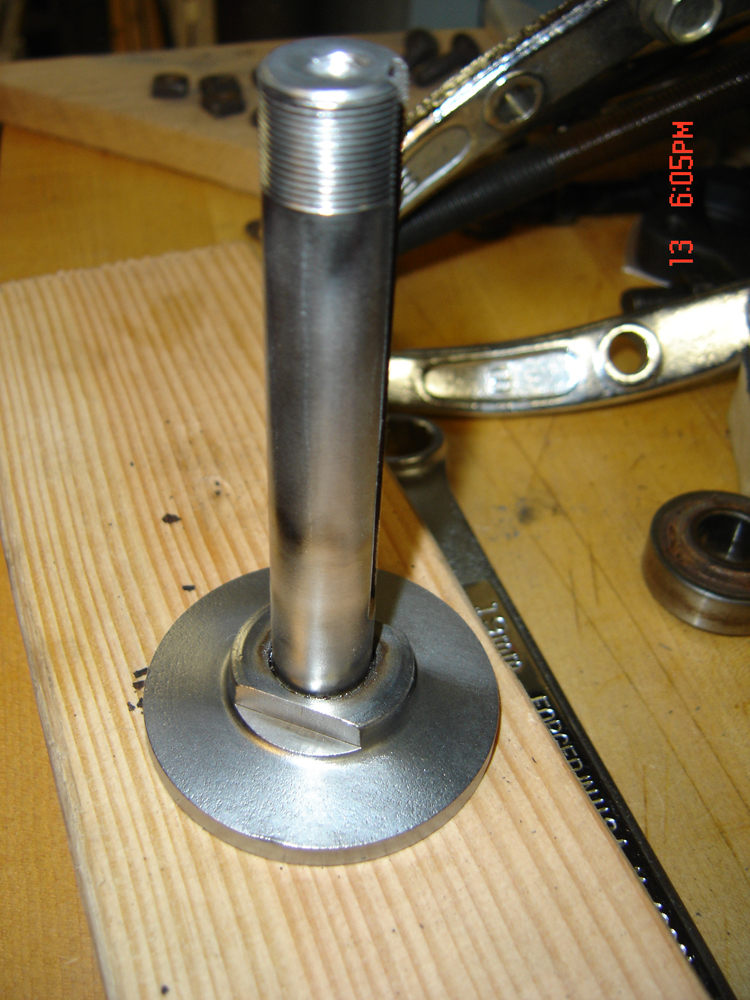
At this point both bearings have been seated and the arbor is ready to be inserted.

I set everything down and prepared for the next phase - finishing up the arbor rebuild and completing the tables. Sorry about the disjointed chronology - all this stuff was going on in between other projects and demands on my time so its a bit spotty (didnt remember to take shots of the table underside, for instance).
-- John


0 komentar:
Posting Komentar
Catatan: Hanya anggota dari blog ini yang dapat mengirim komentar.